
If you’ve ever wondered why one pair of welding gloves survives a season and another falls apart mid-job, the answer often lives in tiny things: seam type, stitch density, thread choice, and the way reinforcement patches are applied. These small details control durability, how heat moves across the glove, and where failures are likely to happen.
Seams: The Structural Skeleton of a Glove
Seams are where pieces of welding gloves become a single, usable element. But seams also concentrate stress. Every bend, pinch, and heavy grip focuses force on seam lines.
- Lockstitch: simple and common, reliable when used with strong thread. Good for many leather applications but can open if exposed to repeated flexing.
- Chainstitch/Overlock: more flexible, tolerates movement. Good where bending is constant (knuckles, thumb base).
- Flat-felled or folded seams hide the raw cut edge and spread stress—which means less cracking over time.
A seam across a knuckle? That’s an area you’ll inspect more often. A seam that runs along the side of a finger? That lasts longer. Little layout decisions matter.
Thread Choice: Kevlar Isn’t Just Marketing Copy
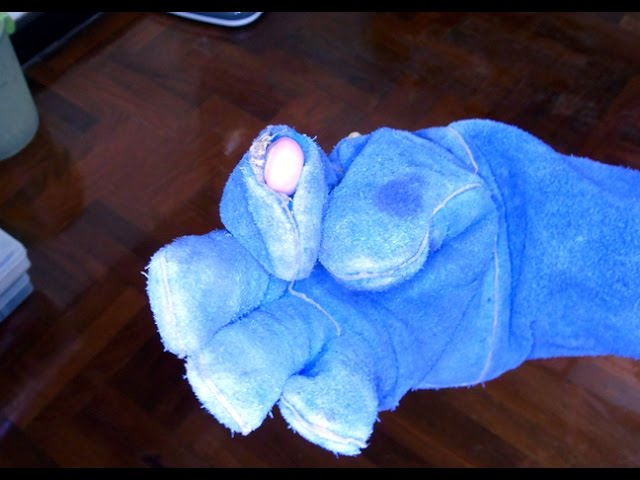
Thread selection changes a seam’s lifetime. Many modern welding gloves use Kevlar or other heat-resistant threads for the visible and invisible stitches.
- Ordinary polyester or nylon thread melts or fails at high temperatures.
- Kevlar thread resists heat, keeps stitches intact near sparks, and reduces seam failure risk.
- Too thick a thread can make seams stiff, reducing comfort; too thin and it breaks early.
So yeah—Kevlar costs more. But for long runs of MIG or heavy stick work, that cost buys you fewer failures.
Stitch Density and Pattern: More Than Needle Count
Stitch density (stitches per inch) affects how a seam distributes load. Fewer stitches may look cleaner but concentrate more stress per stitch. High density spreads load and delays unraveling—up to a point. Overdenseness can stiffen a joint and create a pressure line that wears leather faster.
Stitch pattern matters too: back-and-forth reinforcements at thumb bases and stress points change the failure mode from sudden rupture to gradual fraying, which you can spot and repair.
Reinforcements and Patches: Targeted Armor
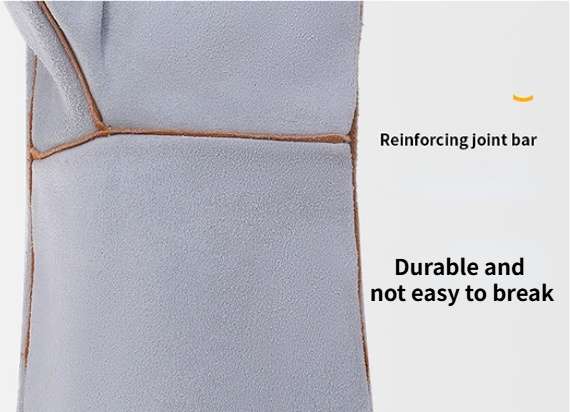
Good welding gloves don’t try to be uniformly thick. They add material where it matters:
- Thumb saddle and palm patches take the brunt during handling.
- Reinforced gussets along the index and thumb increase tear resistance for gripping tools.
- Double-layer palms slow conductive heat transfer in critical zones (useful for brief contact with hot metal).
A targeted reinforcement is smarter than a uniform bulk—it preserves dexterity while protecting critical spots.
How Seams Affect Heat Movement and Feel
You might not expect seams to influence temperature, but they do. Stitched areas can be thinner (multiple layers pulled tight) or thicker (bunched seam), and both change local heat transfer.
- Tight seams with compressed padding can create a hot spot under sustained contact.
- Well-placed double-layer panels increase dwell time (i.e., the seconds you gain before heat reaches skin).
- Seam failures, obviously, expose liner gaps and let heat and sparks in.
So, when you test a glove for a TIG or MIG session, flex seams during inspection. If stitching cuts into the leather, that’s a comfort and safety flag.
Quick In-Shop Seam Tests You Can Run in 60 Seconds
You don’t need lab gear. Do this before a shift:
- Flex test: bend each finger and thumb—watch for seam puckering.
- Tug test: pull gently at thumb and palm seams—no loose threads should appear.
- Visual probe: look for shiny thread ends (a sign of heat damage) or gaps.
- Tap test: run a hot-heat contact simulation with a safe, tempered metal piece (brief contact) to see if heat concentrates near stitched zones.
If any test raises doubt, rotate that pair out of hot handling.
Best Welding Gloves for Seams and Stitches
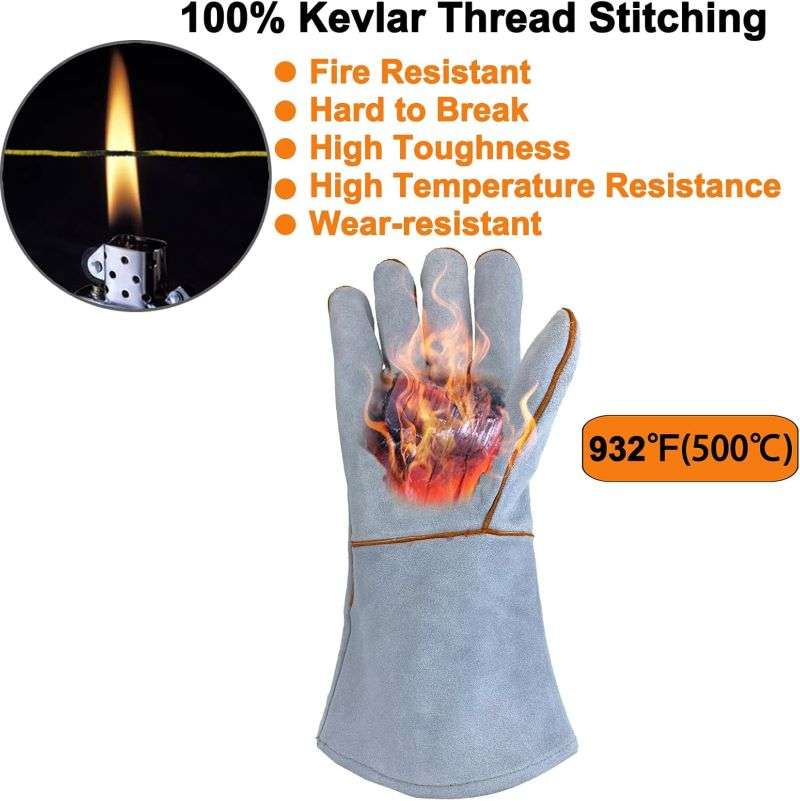
Double-Layer Cowhide High-Temperature Protective Gloves
These gloves feature double-layer cowhide and reinforced seams at the palm and cuff, making them ideal for brief but intense heat exposure, such as handling hot coals, furnace work, or forge tasks. The extra layers and thoughtful seam placement slow heat transfer to the hands and reduce stress on high-contact areas, while the 14-inch length provides additional forearm protection. These gloves excel in situations where short bursts of high temperature meet concentrated seam stress.
Unisex Cowhide Leather Welding Gloves
Designed for versatility, these gloves combine soft cowhide with Kevlar stitching and a 14-inch cuff to balance comfort, dexterity, and protection. Reinforced stress points and carefully planned seam locations reduce the risk of seam failure during extended or mixed tasks, like MIG welding, grinding, or general workshop work. While not intended for extreme heat for prolonged periods, their durable construction ensures long-term reliability and safety across a wide range of projects.
Usage note: Use the double-layer gloves for heavy, short-term heat tasks and the unisex reinforced gloves for general handling and longer jobs where seam durability and flexible protection matter most.
Repair, Retrofit, and Decision Rules
If a seam starts fraying, a repair with heat-resistant thread (Kevlar) and small reinforcement patches buys safe time. But set clear retirement rules: more than two seam repairs on a critical stress point—replace. The chance of another failure increases after repairs.
Simple rule of thumb: if a repaired seam is in the palm or thumb, downgrade that pair to low-heat, low-risk tasks.
Final Note
Design details in welding gloves are small, but their impact is large. Seams and stitching determine where failures start, how heat behaves, and how long you can trust your gloves during a long MIG run or a quick TIG job. Inspect seams like a mechanic checks a weld—regularly and without nostalgia.
If you take one practical action today, do the 60-second seam inspection before starting work. It catches more problems than you think.