
If you want welders who are faster, weld cleaner, and are less likely to get burned, the secret lies not only in better equipment but also in training them to use that equipment. This article lays out practical, repeatable drills and simple assessment metrics that make welding gloves a training tool, not just PPE. I will demonstrate how different welding gloves can be used for different exercises.
Why Is Training with Gloves Often Overlooked?
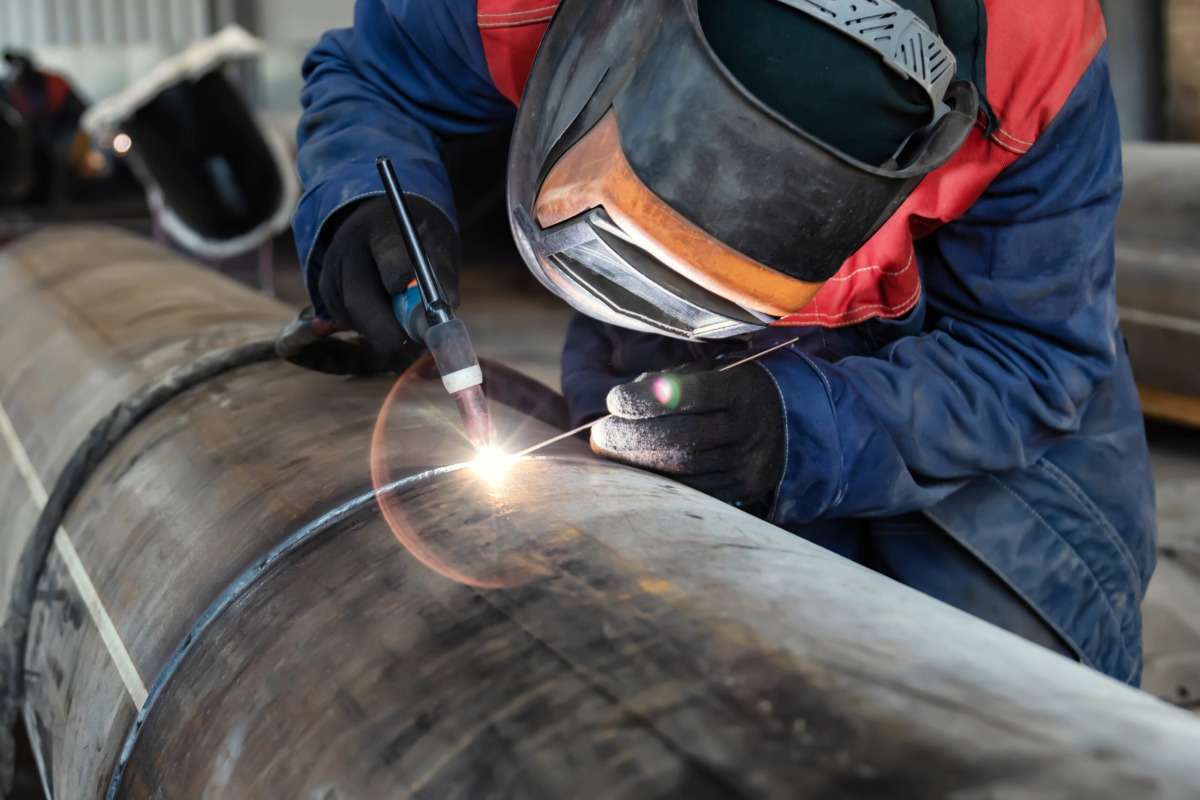
People assume gloves are for protection and comfort. True. But gloves also change technique. Training with gloves teaches muscle memory that actually matches field conditions. If apprentices only practice bare-handed or in thin work gloves, they’ll fumble when real heat demands welding gloves. That mismatch costs time, confidence, and sometimes skin. So: make gloves part of the curriculum.
Two Glove Types, Two Training Roles
Pick one heavy and one nimble glove for a balanced program.
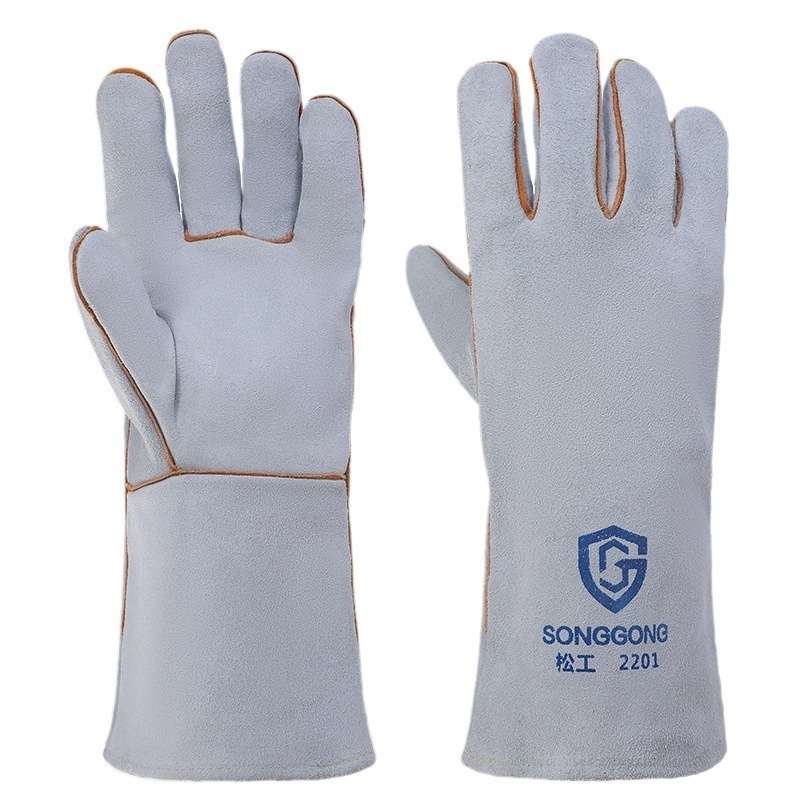
- 14-Inch Full Cowhide Reinforced Welding Gloves: long, sturdy, and great for heavy handling, hot-metal drills, and forearm protection exercises. Use these for tasks that require confidence in handling heat and sparks.
- Leather Palm Welding Gloves: lighter, more dexterous, and better for teaching grip, tool control, and fine hand positioning during MIG and light TIG prep.
Use both across sessions so learners experience how welding gloves change feel and timing.
Repeatable Core Exercises
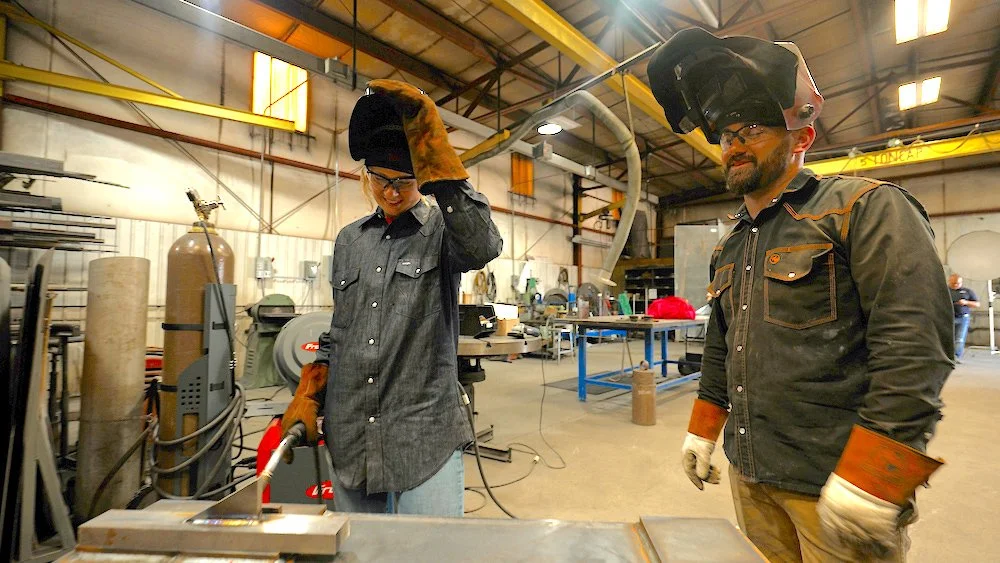
These drills are practical, measurable, and repeatable. Little variations keep things interesting.
Drill A: The Tap-and-Withdraw
Purpose: to teach timing and contact limits with hot parts.
Setup: heated but safe metal block or newly welded metal sheet. Use 14-Inch Full Cowhide Reinforced Welding Gloves.
Action: The trainee grasps for 1–2 seconds, pulls back, and repeats. The instructor times contact and calls out increments. Increase target hold time gradually.
Measure: record max safe contact time without glove displacement or reflexive withdrawal. Track improvement weekly.
Drill B: Pinch-and-Place
Purpose: build fine placement under reduced fingertip feedback.
Setup: small nuts/bolts, washers, and a jig. Use Leather Palm Welding Gloves.
Action: pick, align, and thread a bolt into a jig with a glove on. Time trials focus on consistent hand placement.
Measure: time to complete + error count (cross-thread, dropped parts). Decrease time while keeping errors low.
Drill C: Two-Hand Team Lift
Purpose: teach coordinated handling and cuff-overlap discipline.
Setup: simulate carrying hot assemblies with two people, both wearing welding gloves. One heavy pair, one lighter pair.
Action: lift, pivot, and set down without bumping. Emphasize cuff overlap and communication.
Measure: number of perfect handoffs per session; penalty for dropped or bumped parts.
Sensory Recovery and Conditioning
After glove-intensive drills, teach a short recovery routine: unglove, check fingertips for numbness, flex each finger, and report any odd sensations. This reinforces bodily awareness and prevents small injuries from becoming big ones. It’s simple, and people respect routines.
Incorporate Tasks Across Processes: TIG / MIG / Stick
Don’t silo drills by process. For example:
- Use the Leather Palm Welding Gloves for TIG prep drills where fingertip precision matters.
- Use the 14-Inch Full Cowhide Reinforced Welding Gloves for heavy MIG handling and stick cleanup tasks where forearm protection and spatter defense matter.
Let trainees feel how different welding gloves change hand posture and timing across techniques. That cross-training reduces on-the-job surprises.
Simple Scoring System: Fairness and Feedback
Create a card with three metrics per drill: time, errors, and safety posture. Totals translate to immediate coaching points. Keeping scores semi-public is not meant to humiliate, but to allow trainees to track their progress. People respond to small, concrete goals.
Coaching Tips that Actually Stick
- Model rituals: show the tap-test, not just explain it.
- Praise deliberate slowness during learning phases; speed comes later.
- Swap gloves between trainees: empathy for different fits helps people notice what glove features matter.
- Record short clips: a replay highlights posture or grip problems masked by thick gloves.
These are low-cost but high-impact coaching moves.
Practical Schedule: A Weekly Micro-Program
A minimal weekly plan:
- Monday: Drill A + recovery routine (10–15 min)
- Wednesday: Drill B + scoring review (15 min)
- Friday: Drill C + process crossover (20 min)
Short, consistent beats occasional marathon training.
Closing: Gloves as Teaching Tools, Not Afterthoughts
If safety is the table, training is where the meal happens. Treat welding gloves as active components in skill-building: they shape motion, provide constraints, and, when used in structured drills, accelerate learning. The result? Faster onboarding, fewer errors, and welders who don’t have to relearn how to move when real heat arrives.
Practice with purpose. Rotate glove types. Measure progress. Small, human steps lead to safer, more confident hands. Shop welding gloves crafted for maximum heat protection and long-lasting comfort.